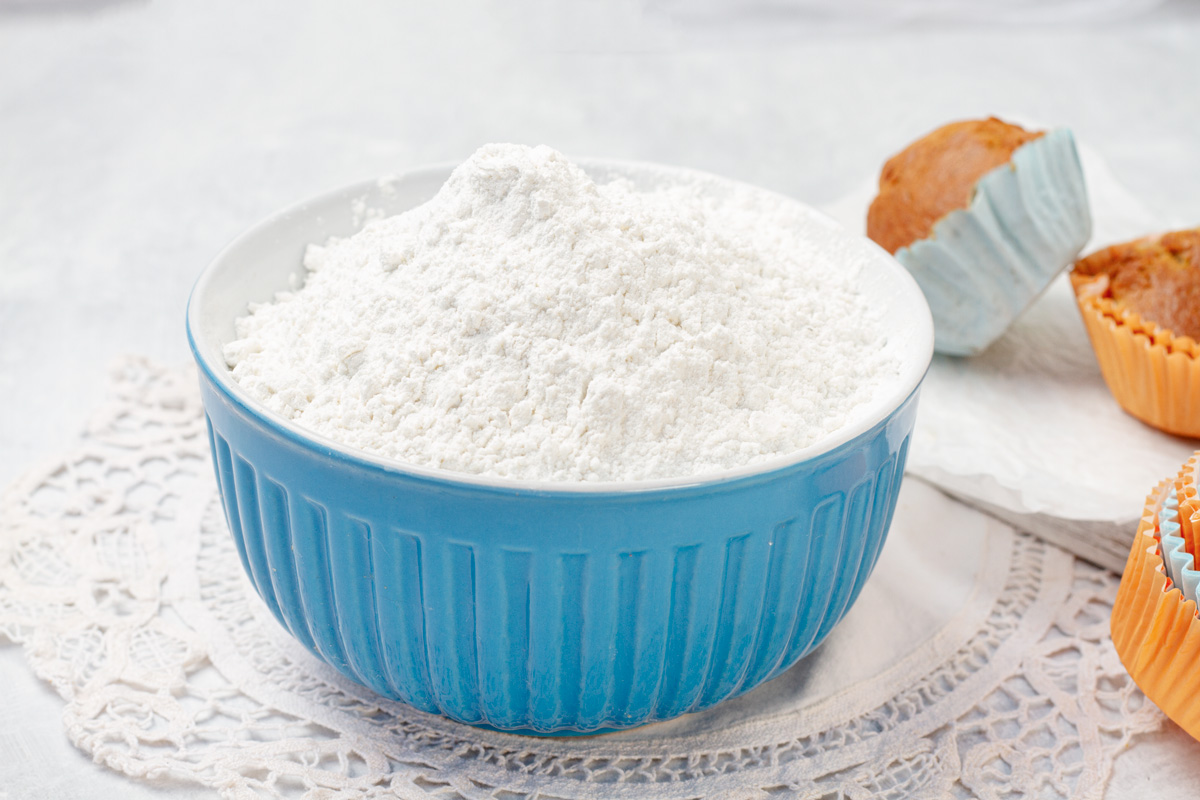
Gluten-Free Flour Recipe

Harina sin gluten

Jani

Hi, I'm Janice! I'm a chef, food photographer, and DIY enthusiast. On this blog, I share reliable, budget-friendly recipes that anyone can make, regardless of their cooking experience. Alongside these delicious dishes, I also offer a peek into my DIY projects, showing you how I’m transforming my home one step at a time. Whether you're here to cook up something tasty or get inspired to tackle a home improvement project, you'll find something to enjoy!

Categories

In this article, I’ll guide you through a simple Gluten-Free Flour recipe with precise measurements, perfect for making muffins, cookies, and bread. While it lacks the elasticity of gluten, it delivers excellent results when used skillfully.


This recipe is a practical solution, especially when store-bought gluten-free flours are expensive, hard to find, or risky due to cross-contamination in commercial products.
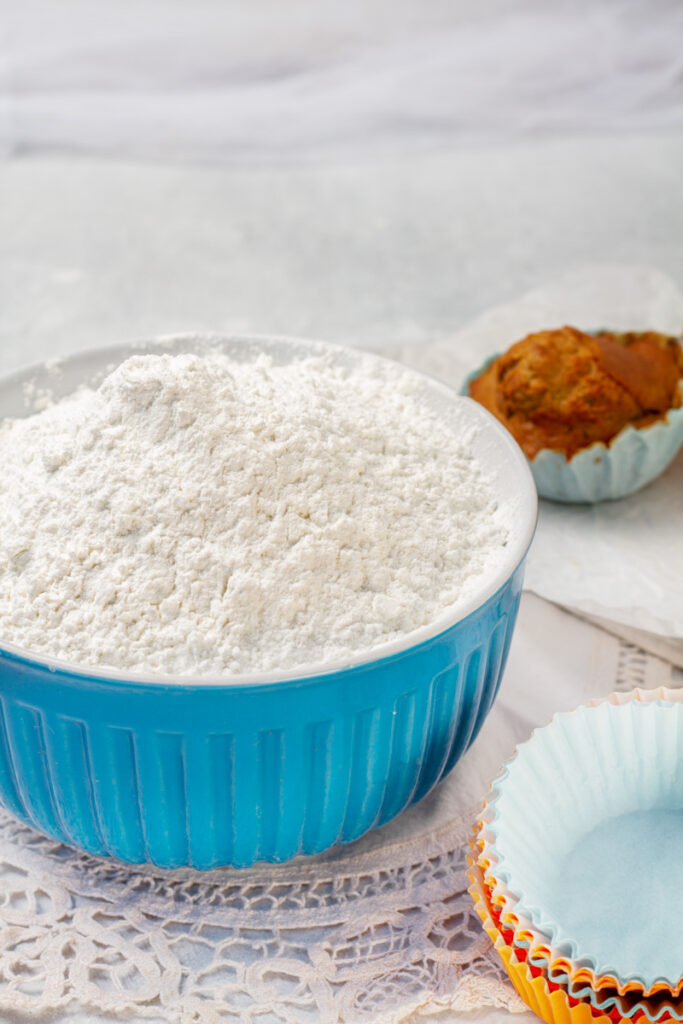
Harina sin gluten

My Story with Gluten

When my eldest daughter was diagnosed with a grade 5 gluten allergy, my world turned upside down. I had no idea how to feed her safely and healthily.

Through research, I discovered that most foods contain gluten, and gluten-free products on the market can be expensive and difficult to find. That’s when I decided to learn how to make my own gluten-free flour.

At first, I tried nut flours, but they were too heavy and fatty. I then tried some commercial or artisanal flours, but in some cases, my daughter had reactions—that’s when I learned about cross-contamination.

Finally, I decided to get hands-on and learn to make most of her food at home. One of my successes was homemade granola, which I also recommend. Just make sure the oats are gluten-free.

After many tests, I found a recipe that works well for almost everything. With it, I can make decent bread, muffins, and even cookies.

Essential Ingredients for Gluten-Free Flour

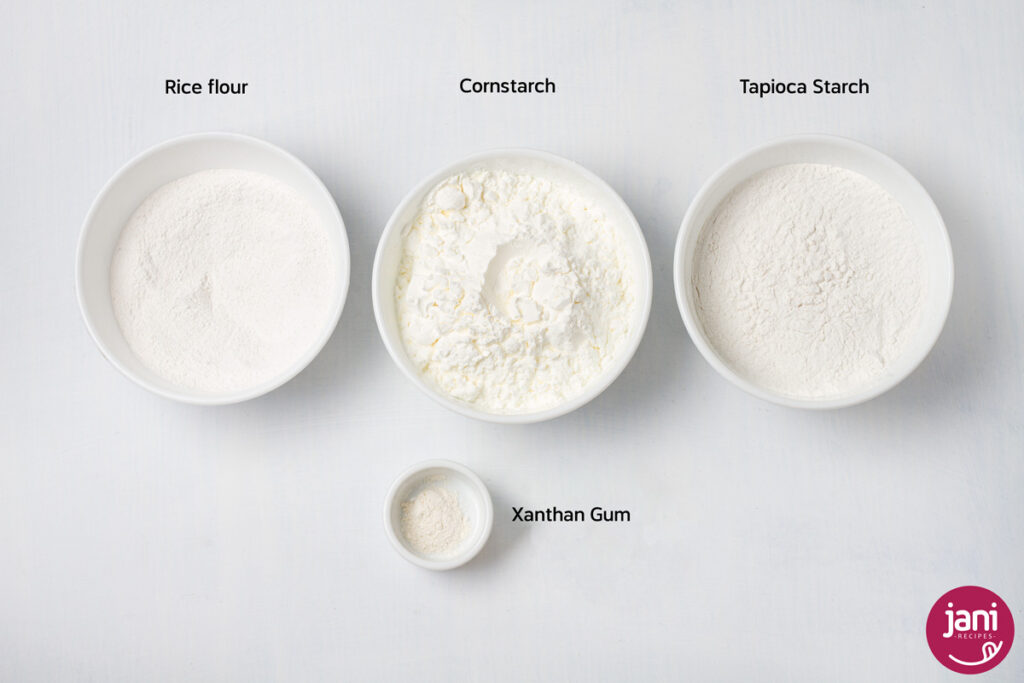
To make this recipe, you’ll need just four ingredients:

  • Rice Flour: I use a baby product known in Venezuela as “crema de arroz,” which is simply a very fine rice flour. Any gluten-free rice flour will work, just check the label. You can find this in most supermarkets.
  • Tapioca Starch: This starch is similar to cornstarch and is a necessary ingredient. It can be hard to find, but most health food stores carry it. Make sure you buy the starch (a fine white powder) and not cassava flour, which is also common in health stores.
  • Cornstarch (Maizena): A common and easy-to-find ingredient.
  • Xanthan Gum: This is a food additive commonly used as a thickener and stabilizer. It’s a fine white powder that dissolves in water, forming a gel-like substance. In this flour, it provides elasticity. You can find it in baking or health food stores.
Let’s Get Cooking: Making Gluten-Free Flour

  • Combine the Ingredients: In a large bowl, mix 2 cups of rice flour, 1 cup of tapioca starch, 1 cup of cornstarch, and 1 tablespoon of xanthan gum.
  • Mix Well: Whisk everything together until the ingredients are fully incorporated. You can use a stand mixer or whisk by hand, ensuring no clumps remain.
  • Store Properly: Transfer the mixture into an airtight container to keep it fresh for up to three months.
  • Use as Needed: This gluten-free flour can be used cup-for-cup in many baking recipes, but it may require slight adjustments based on the specific recipe.
  • Enjoy the Results: Try this flour in muffins, cookies, or even homemade bread for delicious gluten-free treats.
Pasos

Never miss a recipe

12 + 2 =

Variations and Substitutions

When making gluten-free flour, it’s important not to substitute any ingredients, as each plays a crucial role.

  • Rice Flour: Stick to fine rice flour, as alternatives like almond flour are too heavy for this recipe.
  • Tapioca Starch: Do not skip this ingredient. It gives the flour a light, airy texture and helps prevent baked goods from becoming dense.
  • Xanthan Gum: This is non-negotiable. It binds the ingredients together and replicates the elasticity that gluten provides. Without it, your baked goods may fall apart or have an undesirable texture.

Tips and Tricks

  • Sift Your Ingredients: To ensure a smooth and even texture, sift the flour before using it in any recipe. This will prevent lumps and improve the consistency of your baked goods.
  • Store in a Cool, Dry Place: Keep your flour in an airtight container in a cool, dry place. It can last up to three months, but it’s best used within a few weeks for optimal freshness.
  • Check for Cross-Contamination: Always double-check that all your ingredients are certified gluten-free to avoid any risk of cross-contamination.
  • Experiment with Recipes: While this flour works well for most baked goods, some recipes may require slight adjustments in liquid or fat content to get the desired texture.
  • Use Immediately After Mixing: Freshly mixed gluten-free flour yields the best results, so avoid storing it for too long before using it in recipes.


Gluten-Free Flour Recipe

An easy-to-follow, versatile, and affordable homemade gluten-free flour recipe that can be used for muffins, cookies, and bread.
Course Breakfast
Cuisine Gluten-free
Palabra clave Flour, Gluten-Free Flour, Gluten-free
Prep Time 5 minutes
Cook Time 1 minute
Servings 1
Calories 158kcal

Equipment

  • 1 mixing bowl

Ingredients

  • 300 g corn starch 2 ¾ cups
  • 400 g rice flour 2 ½ cups
  • 400 g tapioca starch 2 ½ cups
  • ½ teaspoon xanthan gum

Instructions

Preparation:

  • Wash and dry all the containers and utensils you’ll be using. Accurately measure all the ingredients.

Mixing:

  • Place all the ingredients into a large mixing bowl. Stir well with a wooden spoon until fully combined. There’s no need to overmix.

Adding Xanthan Gum:

  • Xanthan gum is a thickener that helps give structure to gluten-free flour. It’s important to sprinkle it over the dry flour for even distribution. To do this, place the flour in a fine-mesh sieve. Sprinkle the xanthan gum over the flour, using a spoon or spatula to help spread it out evenly. Shake the sieve gently to combine the flour and xanthan gum.

Storage:

  • Store the flour in an airtight container in a cool, dry place.

Looking for more ideas? Try…

0 Comments

Submit a Comment

Your email address will not be published. Required fields are marked *